Decide how much of the room should appear
Consider what a call should show: mainly your face, part of the workspace or several people. Check the intended camera distance and background. A very wide view is not automatically beneficial if it unnecessarily exposes private areas or clutter elsewhere in the room. More visible space can be useful for a group, but inappropriate for a one-person conversation.
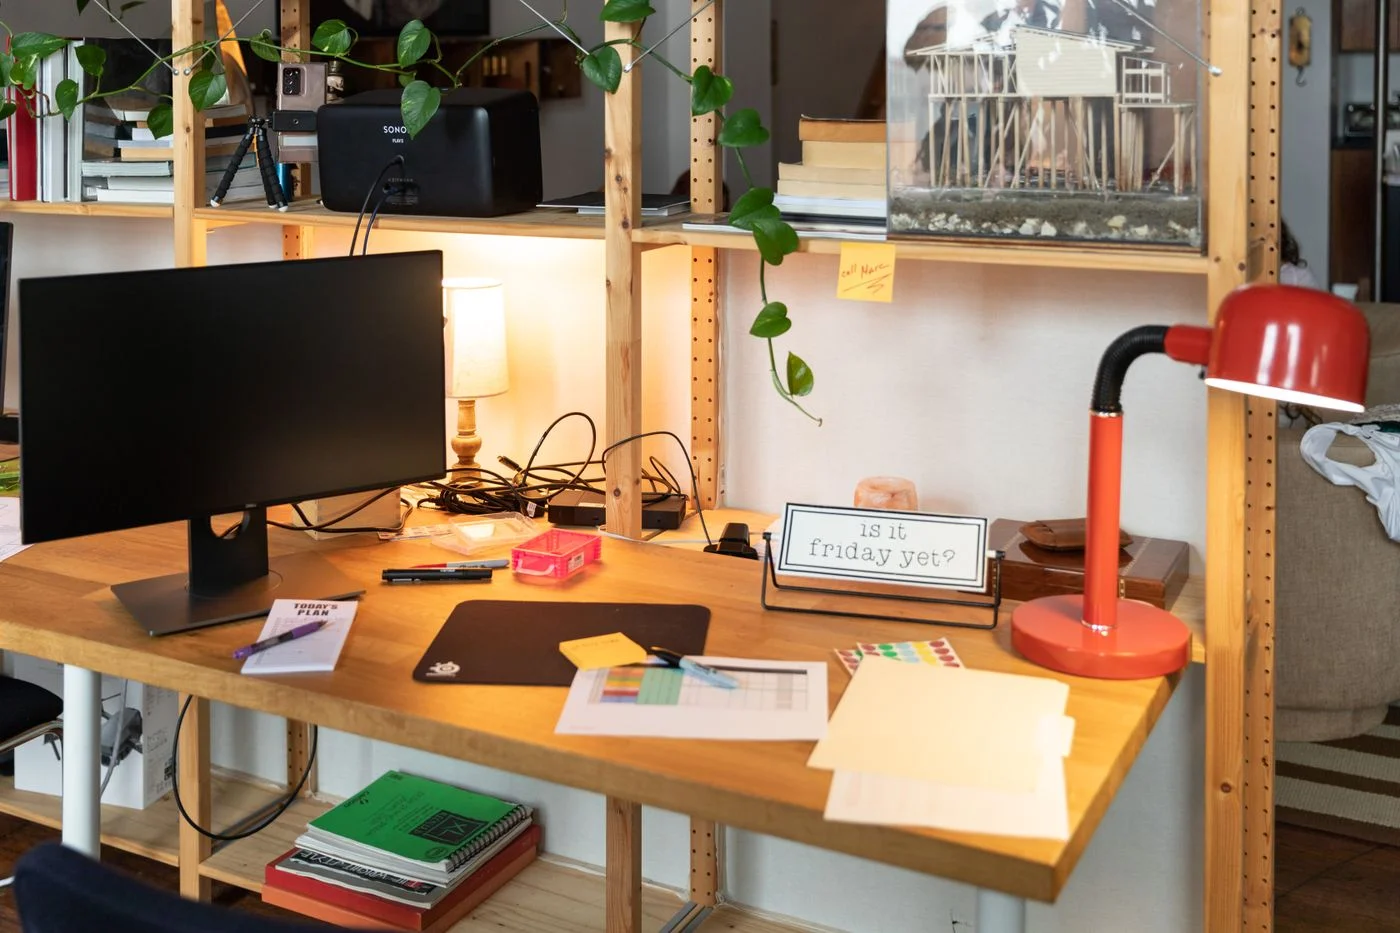
Mark a possible position on or beside the screen and examine the room from that direction. Consider doors, mirrors and moving objects in the background. Software blur may help in some applications, but cannot replace choosing the visible area deliberately. If the existing camera is sufficient, a higher advertised resolution alone is not a reason to replace it. Start with your actual calling needs.
Compare mounting and connection
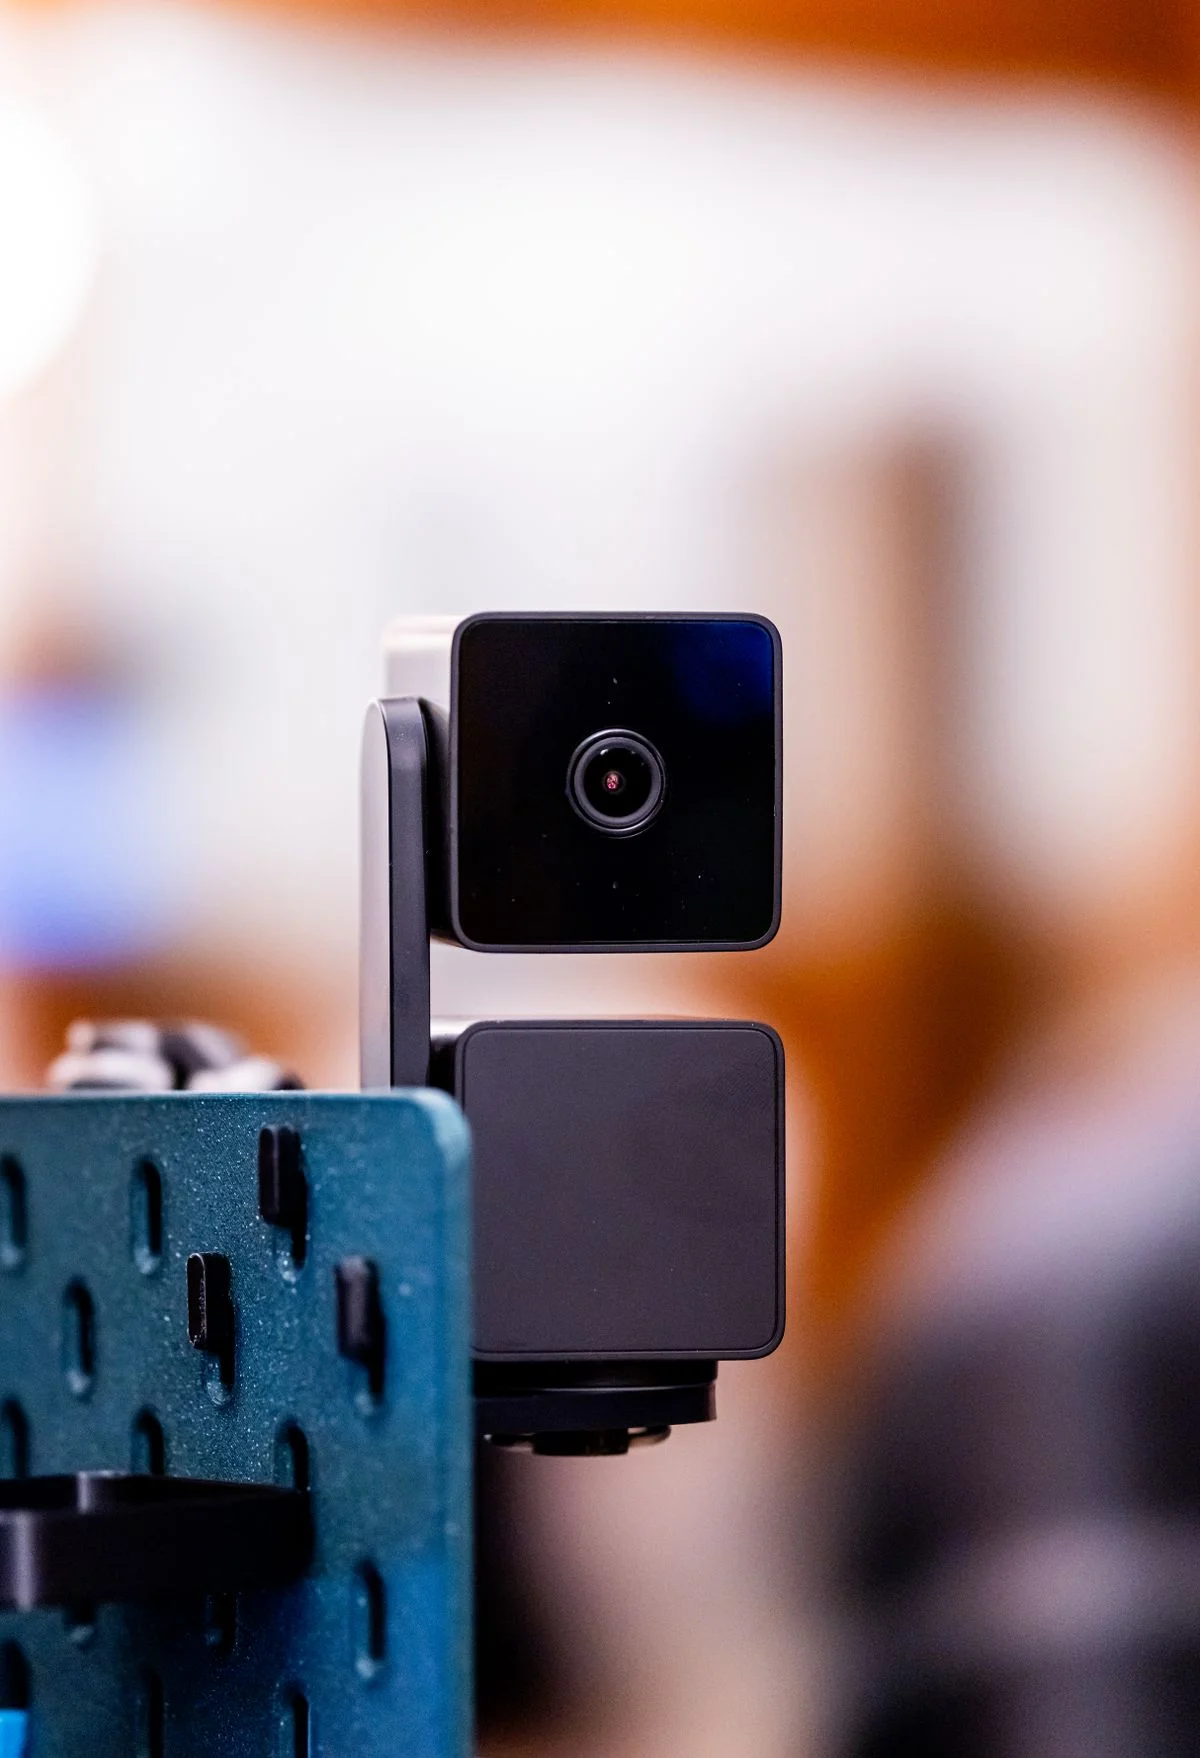
Check how the specific model attaches and whether its mount suits the display or intended tripod. The camera must not clamp onto vulnerable screen areas in an unsuitable way. Read the mounting instructions and consider weight, cable routing and clearance when adjusting the monitor. The camera needs to remain secure during normal movements of the workspace.
Compare connector, cable length and system support with your computer. If a hub is involved, that connection must also be suitable. An included camera microphone is a separate function and need not become your preferred audio source. Decide whether to retain a headset or another microphone you already use successfully. This avoids an unnecessary audio change simply because connecting a new camera caused the application to select it automatically.
Test lighting and appearance in everyday conditions
Try the camera under the lighting present at your normal calling time. A bright window behind you can affect the picture differently from more even light in front. First adjust placement or room lighting rather than changing every software control simultaneously. Examine the preview during normal movement, not merely as one motionless image that happens to look favourable.
Look at framing, recognisable facial detail and distracting changes in brightness. Advertised resolution alone does not describe the full image quality in your room. The application and connection may also affect what reaches another person. Compare under the same conditions using the same calling application. This assesses usefulness in your routine rather than the unusually favourable setting chosen for a product demonstration.
Understand permissions and stopping video
Explicitly select the camera in the intended application and check the necessary access permissions. If the preview is empty, inspect the connection, cover and selected device before assuming a fault. Camera access and application-specific permissions can differ by system, so use the relevant instructions instead of treating one operating system’s menu sequence as universal.
Learn how any cover, switch or indicator on the model works. A dark preview alone does not explain every possible state. After a call, stop the intended transmission and check the application. Keep the exact model name and instructions available. A suitable webcam combines secure mounting and useful presentation with controls that let you understand when the camera is being used and by which program.
Compare framing, lighting and mounting under ordinary conditions, and test the camera in the intended application.