Make a small inventory
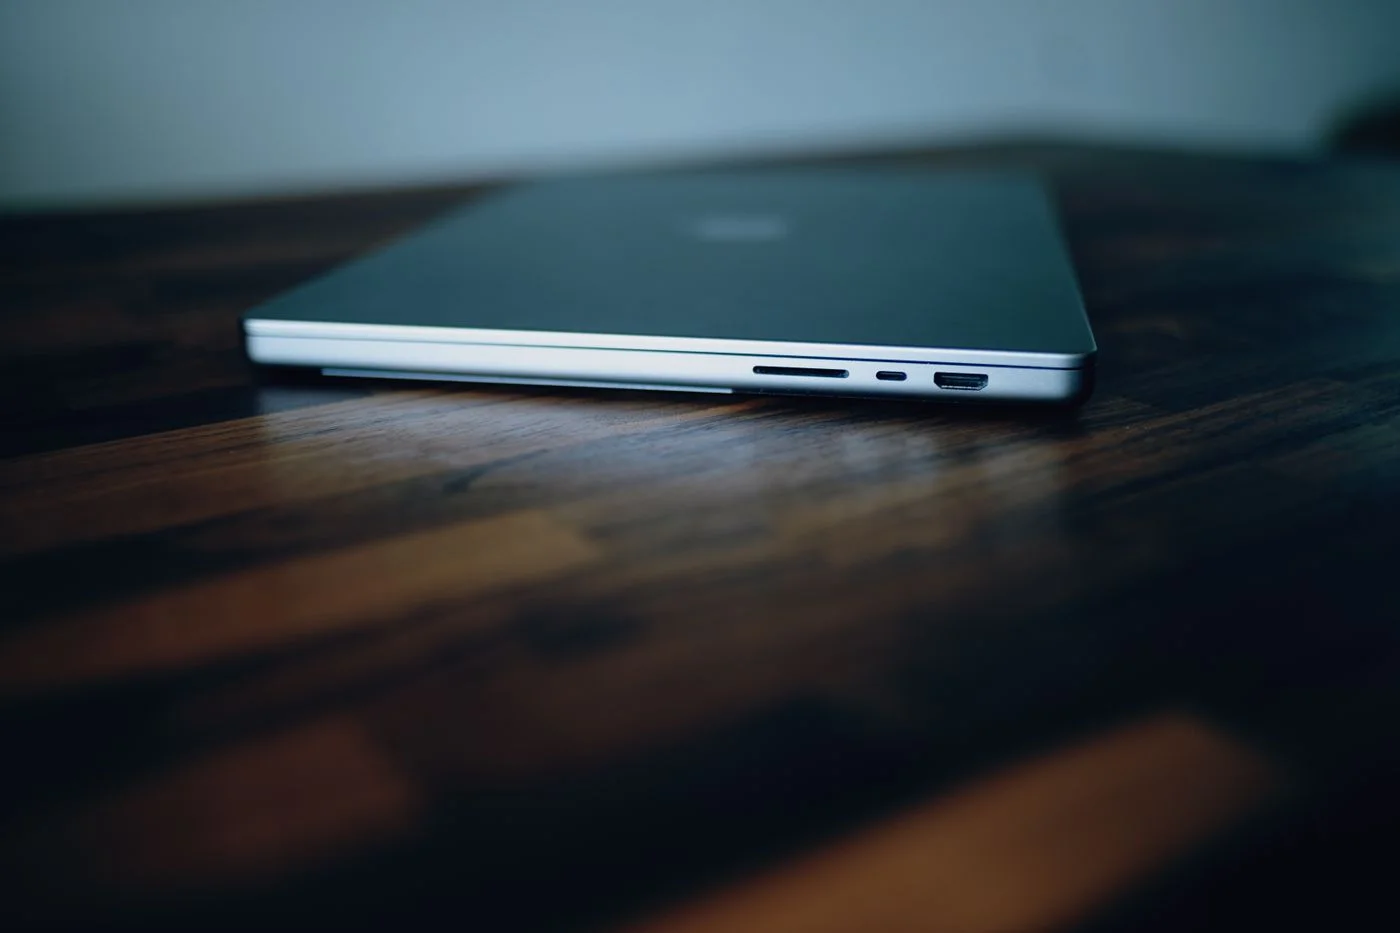
Shut down the laptop for an initial inspection and disconnect its accessories. Look at both sides and, where relevant, the back in good light. Write down the socket shapes and nearby symbols. A photograph for your own reference can make comparison with the manual easier, but avoid publishing serial numbers or other identifying information with it. The photograph does not replace a specification. Do not try to open an unfamiliar cover with a tool: a narrow opening may be a ventilation slot, security-lock attachment or card compartment rather than a connection for an ordinary cable.
Read shape and specification together
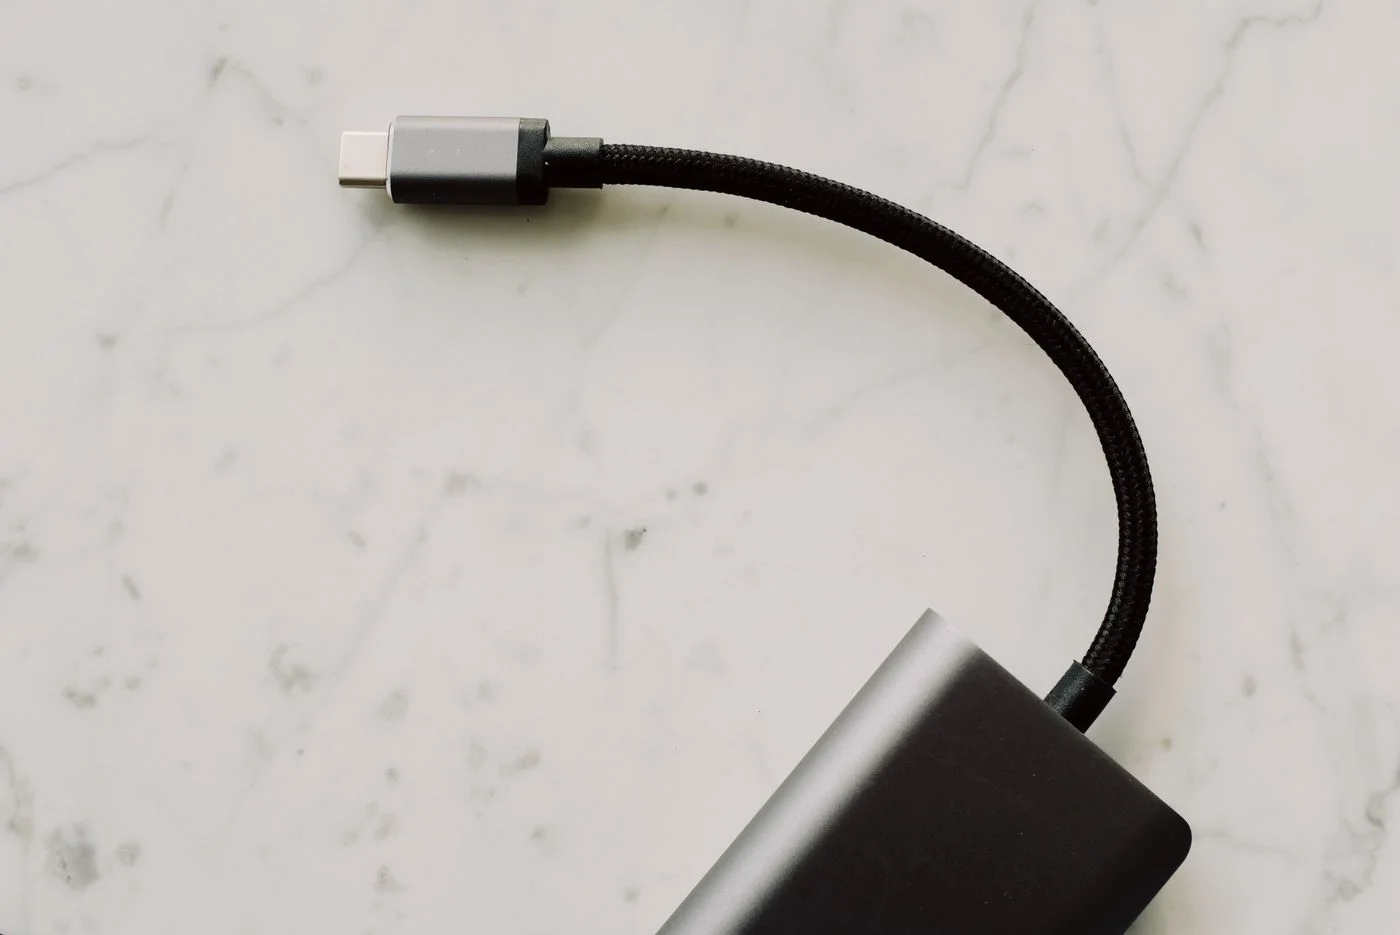
A rectangular USB-A socket looks different from the smaller oval USB-C connector. HDMI has its own outline and commonly carries picture and sound. A round headphone socket may also accept microphone input, depending on the computer. Similar-looking ports do not necessarily provide the same functions. One USB-C port might support data while another also supports charging or a display. Neither colour nor shape proves those capabilities. Find the connection diagram for the precise model, including any relevant model suffix or year, and compare the labels with the sockets in front of you.
Start with the accessory’s task
List what you actually need to attach: perhaps a mouse, an older printer, a monitor and a memory card. For each item, inspect both ends of the existing cable. A plug that fits the computer is insufficient if the other end expects a different connection. A monitor also requires a check of supported resolution and refresh rate. For charging, use the manufacturer’s required power specifications. Buy an adapter only after identifying the job it must perform. A small piece that changes the physical shape of a connection cannot give the computer capabilities it never had.
Connect without forcing
Insert plugs straight and gently. If there is resistance, check the orientation and the connector shape instead of pushing harder. Do not try to compensate for damaged cables, bent contacts or a loose socket by wiggling the connection until something happens. For a first test, attach one accessory directly to the laptop where its instructions allow this. You can then identify which connection works. A hub may make the arrangement more convenient later, but it adds requirements of its own: available power, supported connection types and shared capacity must all suit the connected devices.
Keep a useful connection note
Make a short map for everyday use, such as the left USB-C socket for the charger and HDMI for the desk monitor, provided the manual confirms those functions. Label cables in a suitable place without covering plugs or ventilation. Keep the manufacturer’s model page with your note. If an accessory stops working later, you can return to the known arrangement instead of changing every connection at once. Record combinations you have actually tested successfully, including the particular cable. This is a record of your own setup, rather than a claim about every laptop that happens to have similar sockets.
Check the port, cable and accessory as one complete connection.